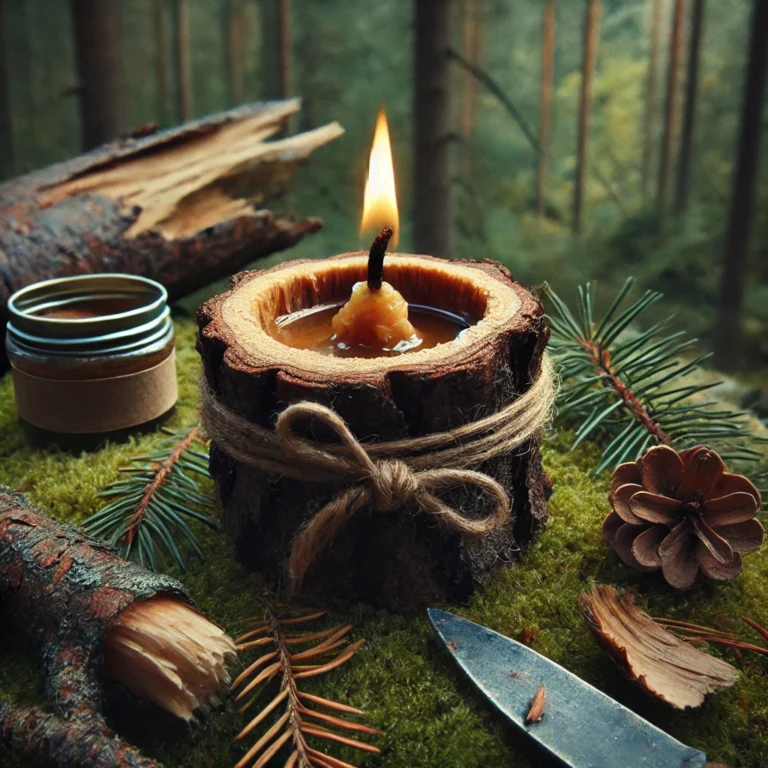
When you’re exploring the outdoors, light can be a lifeline. Mastering wilderness candle making with natural materials ensures you can craft a dependable light source in any situation. With simple techniques and available resources, you can craft candles to brighten your path, whether you’re in an emergency or just enjoying a night in the wilderness.
Why Handmade Candles Matter in Survival
Candles are reliable, long-lasting, and versatile. Unlike flashlights, they don’t depend on batteries, and they require less maintenance than a fire. Beyond light, they can offer warmth and even act as a morale booster in tough situations. Learning to craft your own from forest materials like wood and resin is not only resourceful but can also ensure you’re prepared for the unexpected.
What You’ll Need to Make a Survival Candle
You don’t need specialized gear to create a functional candle. Here’s what you can use:
- Resin: Pine resin is a natural, readily available alternative to wax. It’s flammable and easy to collect from pine trees.
- Wick: Twisted plant fibers, cotton strands, or frayed rope make excellent wicks.
- Container: Hollowed-out wood, shells, or even carved bark work well to hold the resin.
- Heat Source: Use a small campfire, hot stones, or sunlight concentrated with a reflective surface to melt resin.
- Tools: A knife or sharp stone for carving and shaping your materials.
Step-by-Step Guide to Making Wilderness Candles
1. Prepare the Wick
Cut and twist your wick material to a manageable size. Plant fibers or thin cotton strips work well. Coat it with melted resin to make it easier to light and ensure a steady burn.
2. Collect and Melt Resin
Find a pine tree and look for hardened resin or sticky sap. Heat the resin gently over a fire or on hot stones until it becomes a liquid. Be cautious not to burn it, as resin is highly flammable.
3. Create the Candle Base
Carve a small hollow in a sturdy piece of wood or use a shell as a container. Place your wick in the center, ensuring it stands upright.
4. Pour the Resin
Carefully pour the melted resin into your container, covering the base of the wick. Allow it to cool and harden, securing the wick in place.
5. Trim and Test
Trim the wick to about ¼ inch. Light your candle and test its burn to ensure it provides steady light.
Tips for Success
- Be Prepared: Carry a small knife or multitool to help with carving and resin collection.
- Use Wind Protection: Place your candle in a sheltered area or within a lantern to prevent it from blowing out.
- Maximize Burn Time: Ensure your wick is coated evenly with resin for a consistent and longer burn.
The Versatility of DIY Candles
Handmade candles are more than just a light source. They can:
- Repel Insects: Add dried herbs like sage or lavender to the resin to keep bugs away.
- Start Fires: Use resin scraps as an excellent fire starter for damp wood or kindling.
- Waterproof Gear: Rub cooled resin on fabrics or ropes to make them water-resistant.
Mastering Survival Skills
Mastering skills like wilderness candle making is about resilience and creativity. Creating light in a survival situation with nothing but the natural resources around you is a powerful way to stay prepared and feel capable in any scenario. Take this knowledge with you on your next adventure, and remember—light is not just about visibility; it’s about hope and comfort too.


