In a survival situation, having reliable access to food and water can make the difference between safety and distress. Crafting your own DIY gear helps ensure you have the right tools when they matter most and gives you valuable insight into how each piece works. Here, we’ll delve into five essential DIY projects for food and water that will prepare you for off-grid living or emergency scenarios.
1. DIY Water Filtration System
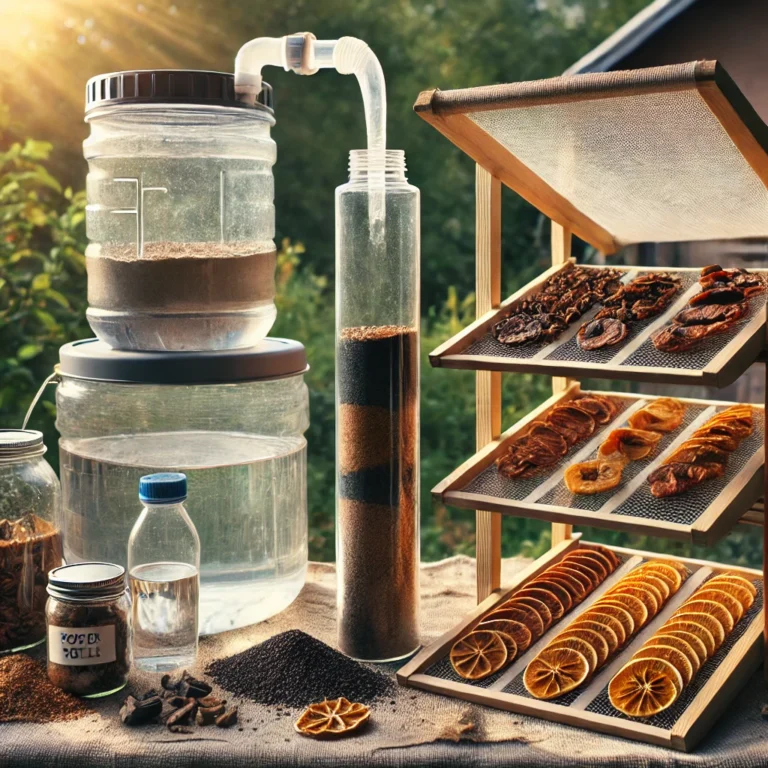
Having a portable water filtration system is key for survival, whether you’re camping or facing an emergency. This simple system filters out debris and pathogens using household items.
Materials Needed:
- Large plastic bottles or buckets
- Activated charcoal
- Sand and gravel
- Coffee filters or cloth
- Rubber bands
Instructions:
- Cut the Base: Cut the bottom off a plastic bottle or bucket to create an opening.
- Layering: Place coffee filters, activated charcoal, fine sand, and gravel inside in that order.
- Secure the Filter: Attach a coffee filter or cloth to the narrow end with rubber bands to catch large particles.
- Filter Water: Pour contaminated water through the top and collect clean water in a container.

2. Homemade Solar Still for Water Collection
A solar still uses solar energy to purify water by evaporation and condensation, making it a vital tool in areas where clean water is scarce.
Materials Needed:
- Large sheet of clear plastic
- A small container or cup
- Rocks or weights
- A shovel
Instructions:
- Dig a Hole: Dig a 3-foot-wide, 2-foot-deep hole in a sunny area.
- Place the Container: Set a cup in the center to catch water.
- Cover with Plastic: Drape the plastic sheet over the hole and secure the edges with rocks.
- Create a Low Point: Place a small rock in the center of the plastic to direct condensation into the cup.
- Collect Water: Wait as the sun heats the ground and water collects via condensation.
3. DIY Food Dehydrator for Long-Term Storage
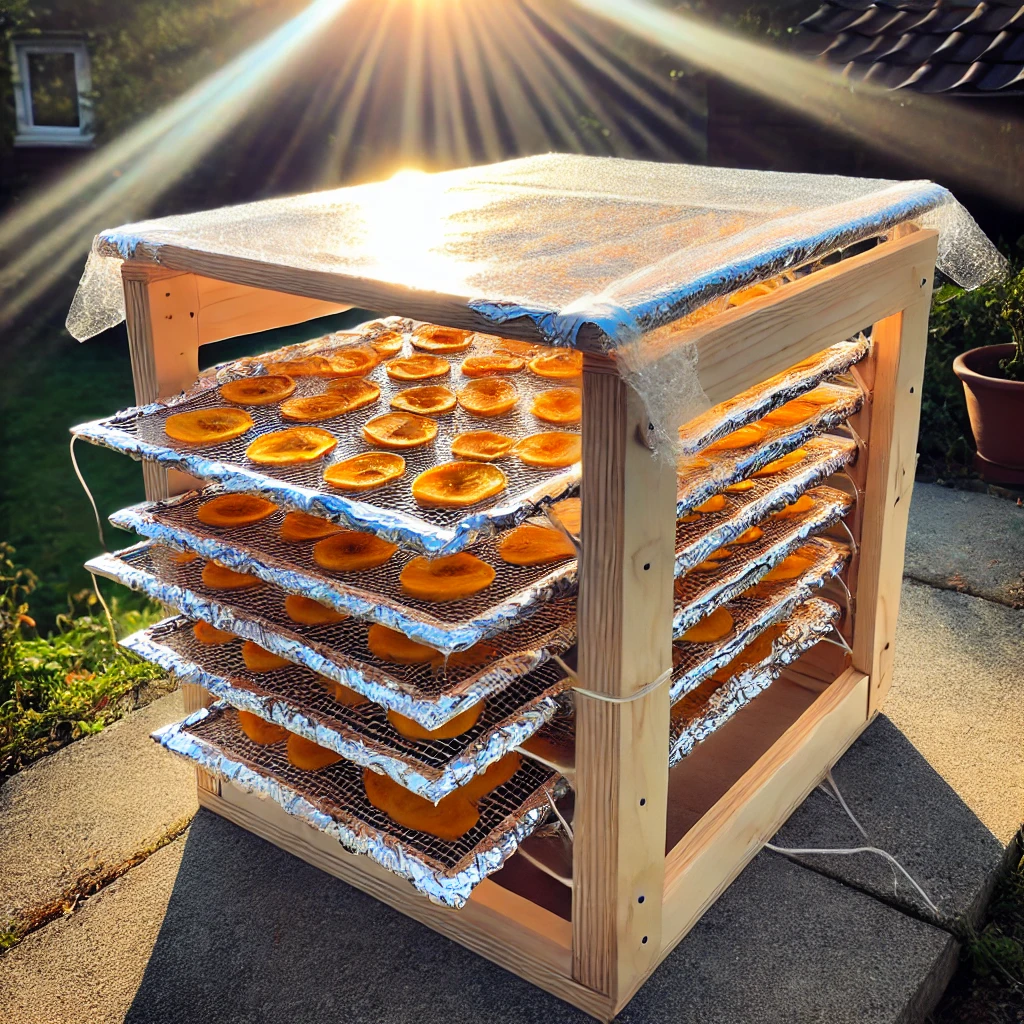
Drying food helps extend its shelf life, making it easier to store and transport. A solar-powered dehydrator is perfect for preserving fruits, vegetables, and even meat without electricity.
Materials Needed:
- A cardboard box or wooden frame
- Mesh screen or metal rack
- Aluminum foil
- Clear plastic wrap
- Small fan (optional)
Instructions:
- Create the Frame: Build or use a box lined with aluminum foil for heat reflection.
- Insert Racks: Add mesh screens or metal racks for laying food.
- Cover with Plastic: Stretch clear plastic over the top to trap heat.
- Optional Ventilation: Use a small fan for added airflow.
- Dry Your Food: Place thinly sliced food on the racks and position the dehydrator in full sunlight.

4. DIY Root Cellar for Food Storage
A root cellar provides a cool, stable environment for storing fresh produce and other perishables, helping extend the shelf life of your supplies.
Materials Needed:
- Shovel and digging tools
- Wooden planks or crates
- Straw or insulation material
- Waterproof tarp or roof material
Instructions:
- Pick a Location: Choose a shaded, well-drained area.
- Dig a Hole: Create a 4-6 feet deep hole.
- Reinforce the Walls: Line the interior with wooden planks or crates.
- Insulate: Add straw or foam insulation between the planks.
- Add a Cover: Top with a waterproof tarp or lightweight roof and a vent for airflow.
5. DIY Water Catchment System
Collecting rainwater is a sustainable and efficient way to ensure a water supply in a survival situation. A simple water catchment system is easy to construct and maintain.
Materials Needed:
- Rain barrel or large container
- Mesh screen
- Downspout diverter
- PVC piping or hose
- Food-safe sealant
Instructions:
- Position the Barrel: Place a rain barrel under a downspout.
- Install Diverter: Connect the downspout to the barrel with a diverter.
- Add a Mesh Screen: Use the screen to filter out debris and insects.
- Seal Connections: Apply food-safe sealant to ensure all joints are watertight.
- Attach Spigot: Add a spigot for easy water access.
Final Thoughts
Building your own DIY gear for food and water security is an empowering step toward self-reliance. These projects not only provide essential survival resources but also deepen your understanding of sustainable living and preparedness. Start with these simple yet effective DIY setups, and ensure you’re ready for any situation life throws your way.
Also see: Essential Meat Preservation Techniques Using Basic Means
Similar article: DIY Gear for Food and Water


