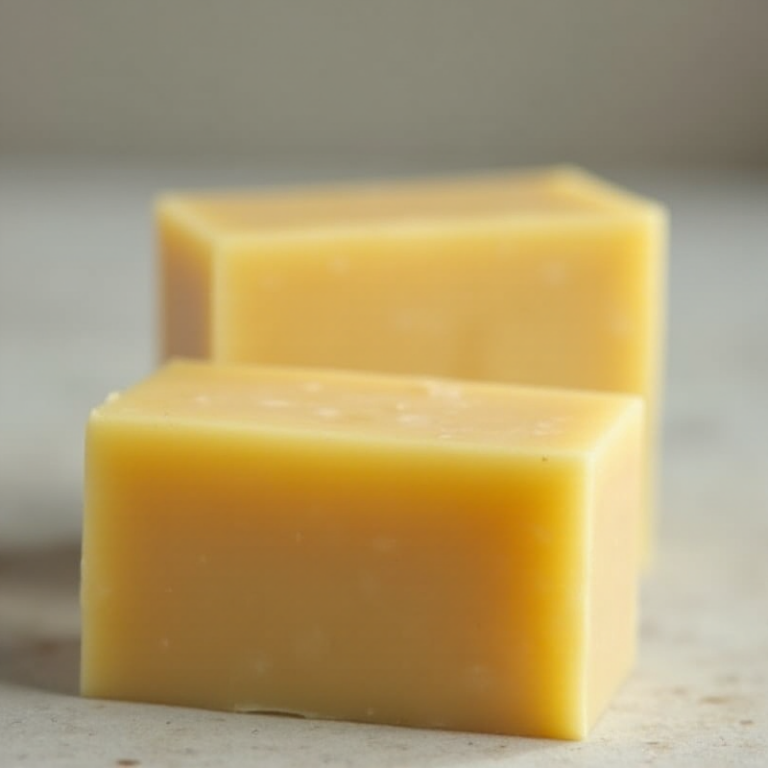
Making your own soap and cleaning supplies isn’t just a fun DIY project; it’s a smart way to save money, avoid harsh chemicals, and gain independence. Whether you’re a seasoned prepper, a fan of all things natural, or simply love a good project, creating homemade soap and cleaning products is easier than you might think. Let’s walk through the process together!
Why Start Making Your Own Soap and Cleaning Supplies?
Making your own soap has so many benefits! First, you control the ingredients, meaning you can avoid synthetic fragrances, dyes, and harmful chemicals. Second, it’s cost-effective. With basic materials, you can make high-quality products for a fraction of store-bought prices. Finally, it’s a creative process that lets you tailor scents, colors, and textures to your liking.
And it doesn’t stop with soap—homemade cleaning supplies are just as useful. From all-purpose sprays to laundry detergent, you can clean your home effectively and sustainably.
How to Make Your Own Soap
Soap-making might seem intimidating at first, but once you understand the basics, it’s straightforward. Here’s what you need to know:
1. Gather Ingredients and Tools
To make soap from scratch, you’ll need:
- Oils or fats (like olive oil, coconut oil, or lard)
- Lye (sodium hydroxide)
- Water
- Essential oils for fragrance (optional)
- Add-ins like oatmeal, herbs, or natural colorants (optional)
Tools include a scale, mixing bowls, an immersion blender, and silicone molds.
2. Follow the Cold Process Method
The cold process is a popular way to make soap:
- Prepare Your Workspace: Wear gloves and goggles, as lye can be caustic. Work in a well-ventilated area.
- Mix Lye and Water: Slowly add lye to water (never the other way around) and stir until dissolved. Let it cool.
- Melt and Mix Oils: Heat your chosen oils to the correct temperature, then combine them with the cooled lye solution.
- Blend to Trace: Use an immersion blender to mix until the mixture thickens (this stage is called “trace”).
- Add Fragrance or Color: Stir in essential oils, herbs, or natural dyes.
- Pour into Molds: Let the soap harden for 24-48 hours, then remove and cure for 4-6 weeks before use.
Making Your Own Cleaning Supplies
Soap is just the start! Here are some easy cleaning product recipes to try:
1. All-Purpose Cleaner
Mix 1 cup of white vinegar, 1 cup of water, and 10-15 drops of essential oil (like lemon or tea tree). Store in a spray bottle for cleaning surfaces.
2. Laundry Detergent
Grate 1 bar of your homemade soap and mix with 1 cup of washing soda and 1 cup of borax. Use 1-2 tablespoons per load.
3. Glass Cleaner
Combine 1 cup of water, 1 cup of rubbing alcohol, and 1 tablespoon of white vinegar. Use a microfiber cloth for streak-free shine.
4. Scouring Powder
Mix baking soda with a few drops of dish soap until it forms a paste. Use it to scrub sinks, tubs, and stovetops.
Benefits of Homemade Cleaning Products
- Non-Toxic: Avoid exposure to harsh chemicals.
- Eco-Friendly: Reduce plastic waste and the environmental impact of manufacturing.
- Customizable: Tailor scents and strengths to your needs.
- Affordable: Save money with simple, everyday ingredients.
Tips for Success
- Start Small: Begin with one recipe and gradually add to your repertoire.
- Label Everything: Clearly label jars and bottles to avoid confusion.
- Store Safely: Keep products out of reach of children and pets.
- Experiment: Try different essential oil combinations for unique fragrances.
Making your own soap and cleaning supplies is a rewarding way to take control of your home and health. With just a few ingredients and some creativity, you can create effective, eco-friendly products that suit your needs. Plus, it’s a great skill for self-reliance and preparedness!


