When it comes to seed storage, ensuring your seeds remain viable for the long haul is essential for every prepper, gardener, or survivalist. Whether you’re building a sustainable food supply for emergencies or saving heirloom varieties for future generations, proper seed storage techniques will help you maintain a strong, self-reliant system. Let’s dive into the best ways to protect your seeds and maximize their shelf life.
Why Seed Storage Matters
Seeds are tiny powerhouses of life, but they are also vulnerable to time and the elements. Proper seed storage ensures that your seeds remain healthy and capable of germinating even years down the road. For homesteaders, preppers, and anyone passionate about gardening, this is the key to self-sufficiency. Stored correctly, seeds can last for decades—or even centuries in some cases!
Step 1: Choose the Right Seeds
The foundation of successful seed storage begins with choosing the right seeds. Heirloom seeds are the best option because they are open-pollinated and maintain consistent traits generation after generation. Hybrid seeds, while productive, may not produce viable offspring.
- Pro Tip: Test seed germination rates before storing. This helps ensure you’re putting effort into storing viable seeds.
Step 2: Understand the Enemies of Seed Storage
Seeds face four main enemies during storage:
- Moisture – Seeds must stay dry to avoid mold and rot.
- Heat – Warm environments can kill seeds or shorten their viability.
- Light – Exposure to sunlight breaks down the seed’s protective layer.
- Oxygen – Excess oxygen can trigger unwanted chemical reactions within seeds.
Knowing these threats makes it easier to control the environment and improve seed longevity.
Setting Up Your Seed Storage System
1. Drying Your Seeds Properly
Before storage, seeds must be thoroughly dried. Seeds that retain moisture will spoil quickly. After collecting or purchasing seeds, lay them out in a single layer on paper towels or mesh screens and allow them to air-dry for a week or two.
- Tip: Use silica gel packets to further reduce moisture during storage.
2. Using Airtight Containers
Seeds thrive in airtight, moisture-proof containers. Mason jars, vacuum-sealed bags, or specialized seed storage containers are excellent choices. Make sure the container is clean and dry before adding your seeds.
- Store similar seeds together but keep different varieties separate to avoid confusion.
3. Label Everything
Proper labeling is critical for organized seed storage. Include the type of seed, the date collected or purchased, and any specific growing instructions.
- Consider using waterproof markers or labels to ensure your notes remain readable.
Where to Store Your Seeds
1. Cool, Dark, and Dry Spaces
The trifecta for successful seed storage is a cool, dark, and dry location. A basement, root cellar, or a dedicated seed storage box in a pantry can work wonders.
- Ideal storage temperatures are between 32°F and 41°F.
- A refrigerator can be a good option if you keep seeds in airtight containers to prevent moisture exposure.
2. Long-Term Options
For seeds you want to store for decades, consider freezing them. Freezing halts aging and preserves viability, but it’s critical to only freeze seeds that are fully dried.
- Pro Tip: Allow frozen seeds to warm up gradually to room temperature before planting to prevent damage from condensation.
How to Test Your Stored Seeds
After years in storage, how can you tell if your seeds are still viable? A simple germination test can help:
- Place 10 seeds on a damp paper towel.
- Roll it up and store it in a plastic bag or container to maintain humidity.
- Check after 7-10 days to see how many seeds sprouted.
- If 80% or more germinate, your seeds are in good shape!
Storing Seeds for Emergencies
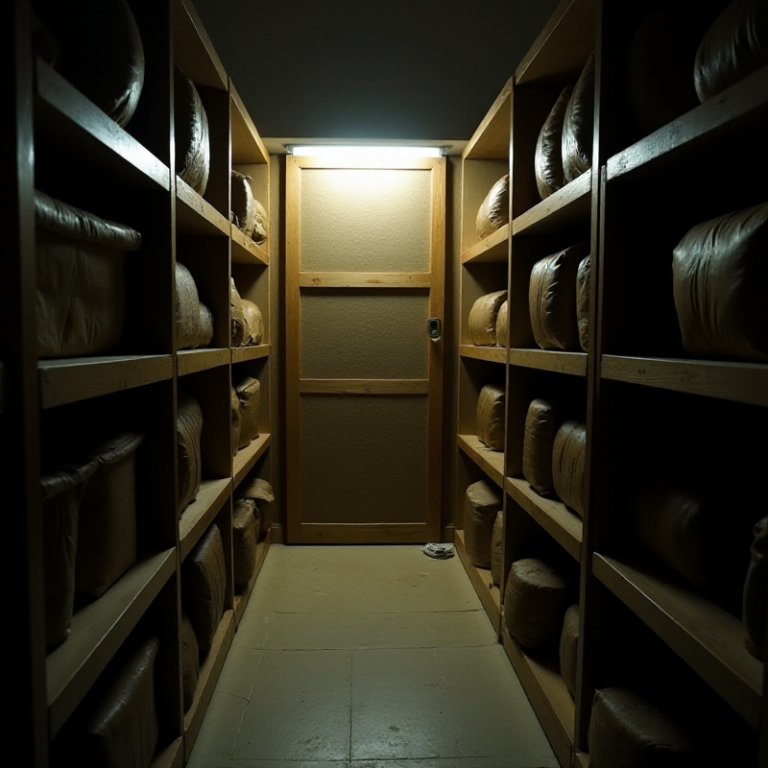
For preppers, creating a “seed vault” is an excellent way to ensure long-term food security. Assemble a variety of seeds, including vegetables, grains, and medicinal plants, and store them in a waterproof, airtight container. Keep this vault in a secure, hidden location and rotate your seed stock every few years to keep it fresh.
Troubleshooting Common Seed Storage Issues
- Mold Growth: This happens when seeds aren’t dried enough before storage. Discard moldy seeds and review your drying process.
- Seed Clumping: If seeds stick together, they’ve absorbed moisture. Use silica packets and recheck storage conditions.
- Low Germination Rates: Over time, some seeds naturally lose viability. Replace old seeds and store replacements in optimal conditions.
Seed storage is about more than just preserving a future garden. It’s a commitment to self-sufficiency, resilience, and sustainability. By following these best practices, you’ll ensure your seeds remain viable and ready to plant whenever the need arises. Start your seed storage journey today and take pride in building a resource that benefits both you and generations to come.


