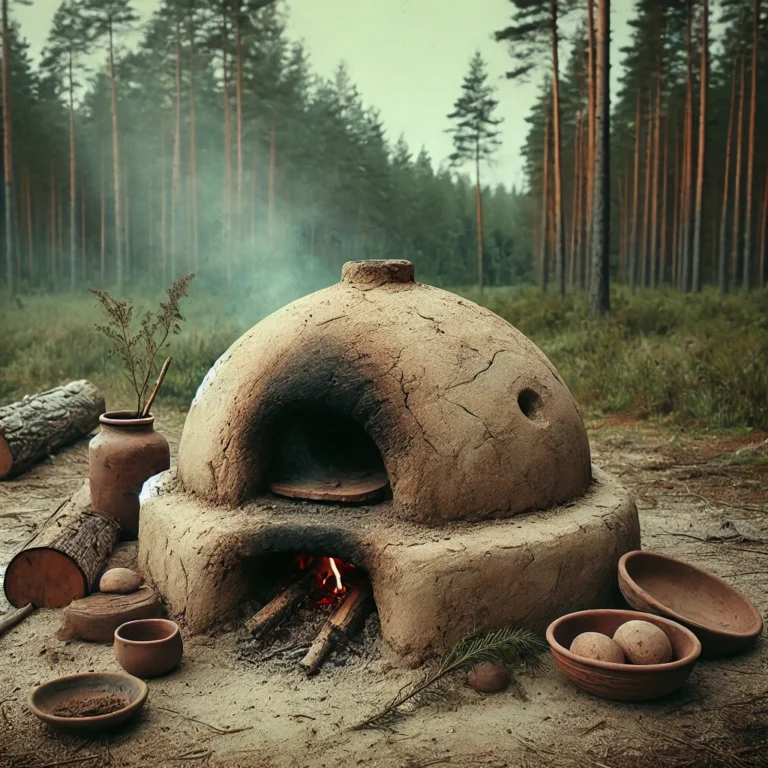
Building a clay oven in the wilderness is a fun and practical project for outdoor enthusiasts, preppers, and anyone who loves the art of self-reliance. Imagine baking fresh bread, roasting meats, or even crafting pizzas with a natural oven you built with your own hands! It’s a great way to embrace sustainable living and enjoy delicious meals in the wild.
Why Build a Clay Oven?
There are many benefits to building a clay oven in the wilderness. Clay ovens are eco-friendly, durable, and capable of holding intense heat, making them perfect for baking or cooking. Plus, they’re built using materials you can often find right around you in nature, which means they’re cheap to create and a valuable survival skill to learn.
Whether you’re camping, homesteading, or preparing for long-term survival, a clay oven can significantly upgrade your outdoor kitchen.
Materials You’ll Need
The beauty of building a clay oven is how simple the materials are. Here’s what you’ll need:
- Clay: Found near rivers or underground in many areas.
- Sand: Essential for mixing with clay to form the oven’s structure.
- Stones or Bricks: For the oven’s base.
- Wood: Used to fire up the oven.
- Water: Helps with clay mixture and shaping.
- Shovel or Digging Tools: To collect clay and sand.
Step-by-Step Guide to Building a Clay Oven
1. Choose the Perfect Spot
Find a flat, dry area sheltered from strong winds. Make sure it’s close to a water source and has plenty of space for gathering materials.
2. Prepare the Base
A sturdy base is crucial for your clay oven. Arrange stones or bricks into a flat, stable surface. If you can’t find bricks, pack down dirt and surround it with logs to keep it secure.
3. Shape the Oven Form
The oven’s shape will depend on the mold you create. Use wet sand to form a dome or mound about the size of your desired oven. This will act as a temporary structure to help shape the clay.
4. Mix and Apply the Clay
Combine clay and sand in a ratio of roughly 1:1. Add water slowly until the mixture is moldable but not too runny. Cover your sand dome with a 2- to 3-inch layer of clay mixture. Leave a small opening at the front for the oven door.
5. Let It Dry
Allow your oven to dry for several hours or overnight. When the outer layer hardens, remove the sand mold inside. This leaves you with a hollow clay structure ready for use!
6. Fire It Up
Before cooking, build a small fire inside to cure the clay and harden the oven completely. Repeat this process a few times to prepare your oven for consistent heat.
Tips for Cooking with a Clay Oven
- Preheat Properly: Light a fire in the oven for 1-2 hours before baking. This ensures even heat distribution.
- Use Insulating Layers: If you have access to straw or more clay, adding insulation around the oven keeps it warm longer.
- Test for Readiness: Sprinkle a few drops of water inside the oven. If they evaporate quickly without sizzling, it’s the perfect temperature.
Enhancing Your Wilderness Cooking
Once your clay oven is ready, the possibilities are endless! Use it to bake fresh loaves of bread, cook a hearty stew, or roast root vegetables. With some practice, you can even make delicious wood-fired pizzas.
Building a clay oven not only provides practical benefits but also brings a sense of accomplishment. It’s a rewarding project that connects you to the land and teaches valuable survival skills.
Troubleshooting Common Issues
- Cracks in the Clay: Small cracks are normal and can be patched with a fresh clay mixture.
- Uneven Cooking: Adjust the placement of your fire or try rotating your food for better results.
- Heat Retention Problems: Add an additional layer of clay or insulate the oven to improve heat retention.
Building a clay oven in the wilderness is a fantastic way to elevate your outdoor cooking skills. With just a few simple materials and a bit of effort, you can create a sustainable cooking solution that serves delicious meals and stands the test of time. Next time you’re out in the wild, why not give it a try?


