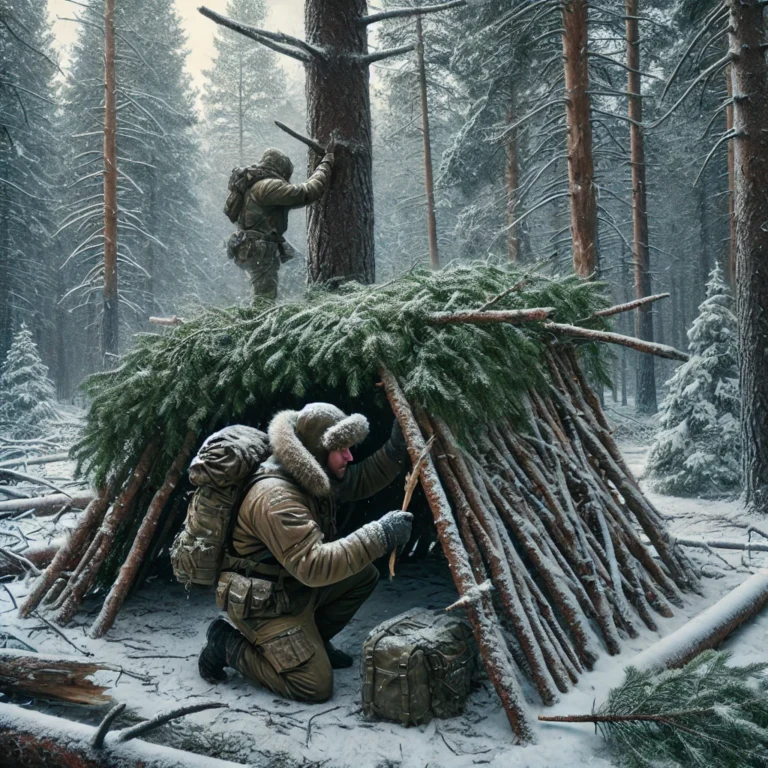
When the temperatures plummet, knowing how to create a shelter in freezing weather can save your life. Whether you’re lost in the woods, facing an unexpected storm, or preparing for an emergency, understanding the basics of building a quick, effective shelter is a critical survival skill. Let’s dive into practical, easy-to-follow steps to keep you warm and safe when winter conditions take a turn for the worse.
Why a Shelter Matters
In freezing weather, exposure to the elements can quickly lead to hypothermia and frostbite. A shelter provides more than just a barrier against the cold—it traps your body heat, protects you from wind and snow, and gives you a space to regroup and plan your next move. Without it, survival time drops dramatically.
Assess Your Surroundings
Before building your shelter, take a moment to assess your environment.
- Look for natural features: A fallen tree, rock overhang, or dense thicket can serve as the backbone of your shelter.
- Check for hazards: Avoid areas where snow might collapse or water could pool.
- Stay near resources: You’ll need materials for insulation, as well as access to fuel for warmth if possible.
Types of Improvised Shelters
Building a shelter in freezing weather doesn’t require specialized tools, but you do need creativity and focus.
1. Lean-To Shelter
Perfect if you find a sturdy tree or rock wall.
- Prop a long branch or sturdy pole at an angle between the ground and the wall/tree.
- Lay smaller branches or logs against the main pole, creating a sloped roof.
- Cover the roof with evergreen boughs, grass, or even your clothing for insulation.
2. Snow Cave
If snow is deep and compact, use it to your advantage.
- Find a large snowdrift or pile.
- Dig into the side, creating a small entrance and a larger interior space.
- Smooth the walls to prevent dripping and create ventilation to avoid suffocation.
3. Debris Hut
If snow is sparse, a debris hut can be a lifesaver.
- Create a frame using long branches propped into a triangle shape.
- Layer smaller sticks and leaves on the frame, making it dense enough to block wind.
- Add snow or more debris for insulation.
Insulation: The Key to Warmth
Building your shelter is only half the job—insulation is what keeps you warm.
- Floor insulation: Use evergreen boughs, dry leaves, or even clothing to keep you off the cold ground.
- Walls and roof: Pack snow or debris tightly to trap heat and block wind.
- Body heat: Share your shelter with others if possible—more bodies mean more warmth.
Tools and Materials
Even when improvising, simple tools can make a world of difference.
- Knife or multitool: Great for cutting branches or carving stakes.
- Tarp or space blanket: If you have one, it can act as a waterproof roof or reflective wall.
- Cord or rope: Helps secure your structure and make it windproof.
Staying Safe in Your Shelter
A well-built shelter in freezing weather is crucial, but safety doesn’t stop there.
- Ventilation: Even in a snow cave, you need airflow to avoid carbon dioxide buildup.
- Fire: If space and conditions allow, build a small fire outside your shelter to reflect heat inward.
- Hydration: Stay hydrated; your body loses moisture in the cold. Melt snow if necessary, but avoid eating it directly—it can lower your core temperature.
Lessons Learned
The ability to create a shelter in freezing weather can be the difference between life and death. Every survival situation is unique, but with a calm mind, a few basic techniques, and the will to persevere, you can overcome even the harshest winter conditions. Practice these skills before you need them, and you’ll feel confident and prepared for whatever Mother Nature throws your way.
Shelter-building isn’t just about surviving—it’s about adapting. In the worst conditions, these skills connect us to our primal ingenuity and determination. Stay safe, stay warm, and remember: the ability to make a quick, effective shelter is one of the greatest tools in any prepper’s arsenal.


