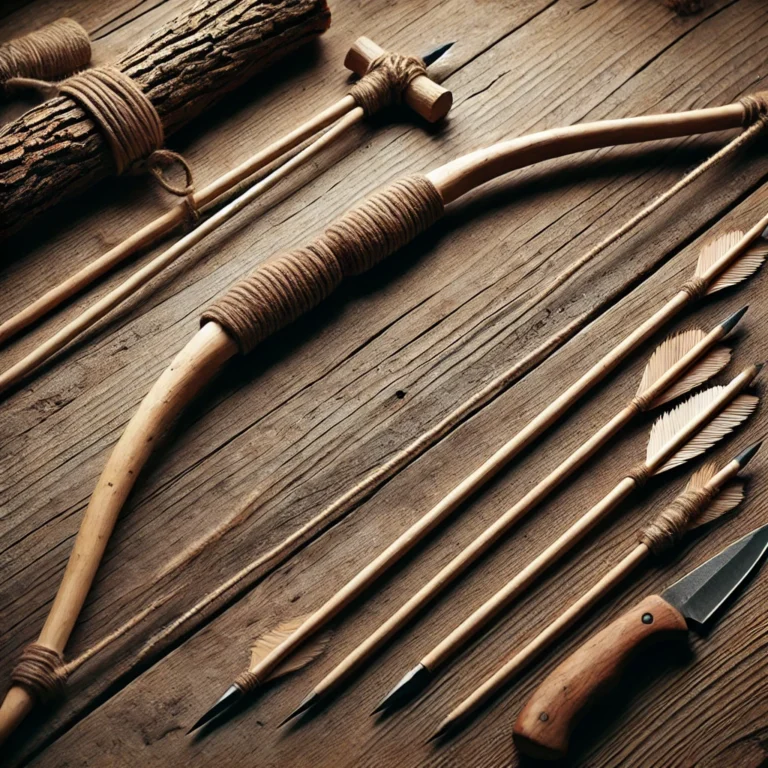
If you’ve ever wanted to learn how to craft a bow and arrow, you’re not alone. It’s a timeless skill that connects us to our ancestors and gives a sense of accomplishment. Plus, it’s an invaluable tool for hunting and survival situations. Crafting your own bow and arrow doesn’t just save money—it builds confidence in your self-reliance skills.
Why Make Your Own Bow and Arrow?
Creating your own bow and arrow offers multiple benefits. First, it ensures you have a dependable tool in case of emergencies. Second, it’s a fun and rewarding project that hones your survival skills. Finally, a handmade bow can be customized to fit your style and strength, making it an even more effective hunting tool.
Whether you’re prepping for a wilderness adventure, hunting season, or just want to develop an old-world skill, this guide will walk you through the basics.
Materials Needed to Craft Your Bow
To build your bow, you’ll need:
- A strong wood for the bow: Choose flexible hardwoods like ash, oak, or hickory.
- String material: Dacron, rawhide, or even paracord works well.
- Basic tools: A knife, hatchet, rasp, or sandpaper for shaping.
- Patience: Good craftsmanship takes time.
Selecting the Right Bow Wood
The most critical element in making a durable bow and arrow is selecting the right wood. Look for a straight-grained piece without knots. If it bends slightly without cracking, you’re on the right track! The wood should be about as tall as you, and roughly 1 to 2 inches in diameter.
Crafting Your Bow
Once your materials are ready, follow these steps:
Step 1: Shape the Bow
Start by removing bark from your chosen wood. Determine where the bow’s handle will be, leaving about 6 inches in the middle untouched. Gradually carve each limb (the upper and lower ends of the bow) to taper toward the tips. Be mindful to remove material evenly for a balanced bow.
Step 2: Stringing the Bow
Notch the ends of your bow to hold the string securely. The string should be taut but not overly tight when strung. Attach one end of the string, bend the bow slightly, and secure the other end.
Step 3: Test and Adjust
Before heading out to hunt, test your bow’s draw strength and flexibility. Make adjustments as needed by shaving more material off the limbs or adjusting the string tension.
Making the Arrow
Your bow and arrow set isn’t complete without arrows! For arrows, use straight, lightweight wood such as willow or bamboo. Here’s how to get started:
Step 1: Shape the Shaft
Cut your arrow shafts to about 28-30 inches in length. Smooth them out with sandpaper for accuracy.
Step 2: Add the Tip
For hunting, attach a sharp tip. You can fashion one from metal, bone, or stone. Secure the tip with strong glue or by tying it with sinew.
Step 3: Add Fletching
Fletching (feathers) at the back of the arrow helps with stability and accuracy. Split a feather down the middle and glue or tie each half opposite one another at the end of the shaft.
Tips for Hunting with a Homemade Bow and Arrow
Using your handmade bow for hunting requires practice and patience. Spend time honing your aim and learning how to stalk prey silently. Always ensure your arrows fly straight and true by testing them regularly.
The Joy of Self-Reliance
Making your own bow and arrow not only prepares you for the wild but also reinforces the idea of self-reliance. It’s an empowering skill that combines craftsmanship with survival know-how. With a little practice, you’ll soon feel as capable as the survivalists you admire.


