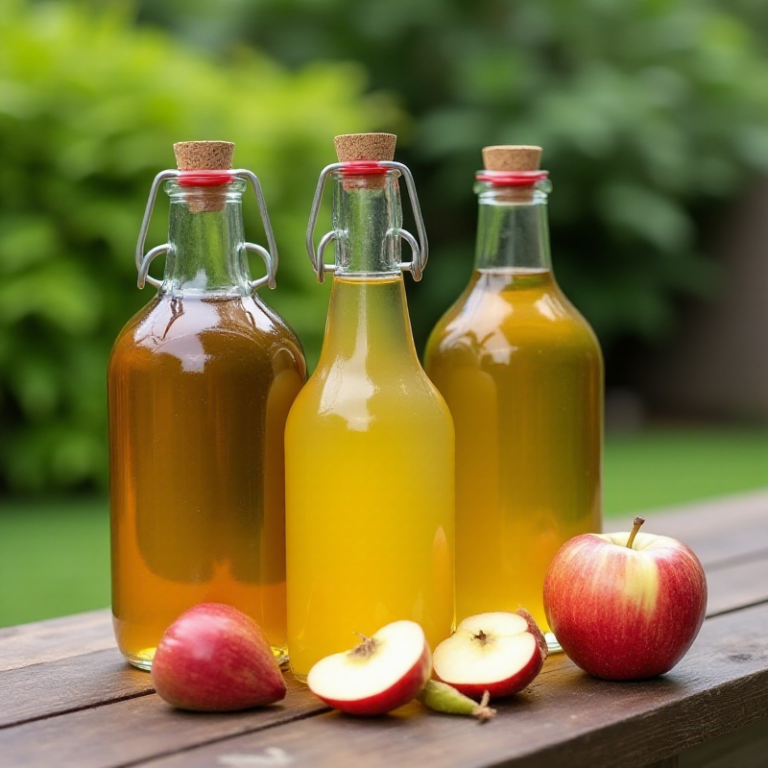
Homemade vinegar is one of the simplest, most rewarding projects you can take on in your kitchen. It’s not only a fantastic way to add flavor to your meals, but it’s also a sustainable solution for cleaning your home. Best of all, making vinegar at home requires only a few basic ingredients and a bit of patience. Let’s dive into this friendly fermentation guide to get started!
Why Make Homemade Vinegar?
If you’ve ever been curious about what goes into that tangy bottle of store-bought vinegar, the answer is surprisingly simple: fruit, sugar, water, and time. By making homemade vinegar, you can:
- Reduce waste by using fruit scraps.
- Save money on store-bought vinegar.
- Customize flavors to suit your taste.
- Gain a sustainable, chemical-free cleaning agent.
With just a few steps, you’ll have a product that’s both delicious and versatile.
The Basics of Vinegar Fermentation
Fermentation is the magical process that turns sugars into alcohol and then into vinegar. The key players are natural yeast and acetic acid bacteria. These microorganisms work together to transform your ingredients into that unmistakable tangy liquid.
Here’s what you’ll need to start making homemade vinegar:
- Fruit scraps (apple peels, cores, or other overripe fruits work great)
- Sugar (about 1-2 tablespoons per cup of water)
- Water (filtered is best to avoid chlorine)
- A clean glass jar
- A breathable cover (cheesecloth or a coffee filter)
Step-by-Step Guide to Making Homemade Vinegar
1. Prep Your Ingredients
Gather fruit scraps or whole fruit and chop them into small pieces. These will provide the natural sugars needed for fermentation. Place them into a clean glass jar, filling it about halfway.
2. Make the Sugar Water
Dissolve sugar in warm water (around 1-2 tablespoons per cup of water). Once the sugar has dissolved, let it cool to room temperature. Pour the sugar water over the fruit until the jar is nearly full, leaving about an inch of space at the top.
3. Cover and Wait
Cover the jar with cheesecloth or a coffee filter secured with a rubber band. This allows air to circulate while keeping out unwanted pests.
Place the jar in a warm, dark place. Over the next few days, you’ll notice bubbles forming—this means fermentation is underway!
4. Stir Regularly
Stir the mixture daily to prevent mold from forming and to keep everything well-aerated. After about a week, the liquid will start to smell slightly boozy. That’s the alcohol stage.
Turning Alcohol into Vinegar
After 2-4 weeks, your mixture will begin to smell like vinegar. This is when the acetic acid bacteria start converting alcohol into acetic acid. Be patient! This process can take another 2-4 weeks.
Taste-test your vinegar every few days once you notice the smell. When it reaches your desired tanginess, strain out the solids and transfer the liquid to a clean jar.
Using Your Homemade Vinegar
Your homemade vinegar is now ready to shine! Here are some popular ways to use it:
- Cooking: Use it in salad dressings, marinades, or to add a pop of acidity to soups and sauces.
- Cleaning: Dilute your vinegar with water to create an effective, eco-friendly cleaner for countertops, windows, and floors.
- Pickling: Preserve vegetables with your homemade vinegar for a delicious, tangy treat.
- Health Tonic: Some people enjoy diluted vinegar as a natural health remedy (check with your doctor first!).
Tips for Success
- Keep it Clean: Ensure all your tools and jars are thoroughly washed to avoid unwanted bacteria.
- Don’t Skip Stirring: Daily stirring helps keep mold at bay and ensures consistent fermentation.
- Be Patient: Good things take time. Let the process run its course for the best results.
- Experiment with Flavors: Try using different fruits or even herbs to create unique vinegar blends.
Troubleshooting Common Issues
- Mold on Top? If you see mold, skim it off immediately. As long as the vinegar doesn’t smell rotten, it’s likely still fine.
- No Bubbles? Ensure your jar is warm enough. Fermentation slows in cooler temperatures.
- Too Weak? Let it ferment longer for a stronger vinegar flavor.
The Joy of Homemade Vinegar
Making homemade vinegar is more than just a kitchen experiment—it’s a step toward a more self-reliant, sustainable lifestyle. With every tangy drop, you’ll appreciate the effort you put into creating something both practical and delicious.
So grab those fruit scraps, roll up your sleeves, and start fermenting. Your kitchen (and home) will thank you for it!
Also see: Nostalgic American Dishes We All Cherish


